Step 7: Connect Your First Device
Bridge your local network to ControlBird and bring live device data into the cloud.
Full reference
For complete details, field tables, and limitations, see the Device Manager reference.
The Network Challenge
Your ControlBird node runs in the cloud, but your devices (thermostats, PLCs, sensors) are on your local network. The cloud can't directly reach 192.168.1.100: that address only exists inside your home or facility.
192.168.1.100192.168.1.101192.168.1.102node.example.comTo bridge this gap, you'll create a reverse TCP tunnel from your local network to your cloud node. This tunnel makes your local devices appear as if they're directly connected to the node.
Understanding Device Connections
Connecting a device in ControlBird involves three parts:
localhost since the tunnel makes devices appear local to the node. Step 1: Enable Remote Access on Your Environment
First, enable Remote Access on your environment. Go to the Control Plane Dashboard and select your environment. Remote Access is shared by every node in the environment, and its address follows whichever node is live when you promote.
Enable Remote Access
On the environment page, locate the Remote Access section and click Enable Remote Access. Then create a named API key for each adapter client. This provisions:
- A TLS certificate for secure connections
- A Remote Access endpoint at
remote-<environment-alias>.controlbird.iowhen the environment has an alias, otherwise at the live node'sremote-<node-subdomain>.controlbird.io - An individually revocable API key for each client
Works on Restrictive Networks
The adapter makes an outbound TLS connection on port 443. The tunnel payload uses CBT/2 with a fresh Noise handshake authenticated by your API key.
Copy Your Connection Details
After enabling, create an API key and copy the secret when it is shown. The secret is displayed once:
remote-plant-a-dana.controlbird.io443cbra1_…Step 2: Establish the Tunnel
From a computer or gateway device on your local network, start the tunnel adapter. This creates reverse port forwards that expose your local devices to the cloud node.
Docker Tunnel (Recommended)
The easiest way to set up a persistent, auto-reconnecting tunnel is with the controlbird/tunnel Docker image. One command is all you need:
docker run -d --name tunnel \
  --restart always \
  -e TUNNEL_HOST=remote-plant-a-dana.controlbird.io \
  -e TUNNEL_API_KEY="cbra1_your-api-key" \
  -e TUNNEL_LOCAL=192.168.1.100:502 \
  -e TUNNEL_REMOTE_PORT=502 \
  controlbird/tunnel
Understanding the Tunnel Variables
TUNNEL_HOST is the Remote Access host from your environment page. TUNNEL_API_KEY is the key secret you copied when creating the named key. TUNNEL_LOCAL is the local device's address (host:port). TUNNEL_REMOTE_PORT is the port the device is reachable on at the ControlBird node. Each container handles one device; run one container per device to forward more than one. The adapter carries TCP connections only.
Forwarding Multiple Devices
Each container forwards one device, so run one container per device, each with its own name and TUNNEL_REMOTE_PORT:
docker run -d --name tunnel-thermostat \
  --restart always \
  -e TUNNEL_HOST=remote-plant-a-dana.controlbird.io \
  -e TUNNEL_API_KEY="cbra1_your-api-key" \
  -e TUNNEL_LOCAL=192.168.1.100:502 \
  -e TUNNEL_REMOTE_PORT=502 \
  controlbird/tunnel

docker run -d --name tunnel-plc \
  --restart always \
  -e TUNNEL_HOST=remote-plant-a-dana.controlbird.io \
  -e TUNNEL_API_KEY="cbra1_your-api-key" \
  -e TUNNEL_LOCAL=192.168.1.101:502 \
  -e TUNNEL_REMOTE_PORT=503 \
  controlbird/tunnel

docker run -d --name tunnel-mqtt \
  --restart always \
  -e TUNNEL_HOST=remote-plant-a-dana.controlbird.io \
  -e TUNNEL_API_KEY="cbra1_your-api-key" \
  -e TUNNEL_LOCAL=192.168.1.50:1883 \
  -e TUNNEL_REMOTE_PORT=1883 \
  controlbird/tunnel
| Node Port | Local Device | Protocol |
|---|---|---|
502 | 192.168.1.100:502 | Modbus (Thermostat) |
503 | 192.168.1.101:502 | Modbus (PLC) |
1883 | 192.168.1.50:1883 | MQTT Broker |
Docker Compose
If you prefer Docker Compose, add one service per device to your docker-compose.yml:
services:
  tunnel-thermostat:
    image: controlbird/tunnel
    restart: always
    environment:
      TUNNEL_HOST: remote-plant-a-dana.controlbird.io
      TUNNEL_API_KEY: your-one-time-api-key
      TUNNEL_LOCAL: 192.168.1.100:502
      TUNNEL_REMOTE_PORT: 502

  tunnel-mqtt:
    image: controlbird/tunnel
    restart: always
    environment:
      TUNNEL_HOST: remote-plant-a-dana.controlbird.io
      TUNNEL_API_KEY: your-one-time-api-key
      TUNNEL_LOCAL: 192.168.1.50:1883
      TUNNEL_REMOTE_PORT: 1883
Gateway Devices
The Docker tunnel is ideal for Raspberry Pi, NAS, or any gateway device on your network. A single docker run command gives you a persistent, auto-reconnecting tunnel. The adapter negotiates CBT/2 over TLS and authenticates the session with its named API key.
TCP Only
This adapter version forwards TCP connections. It does not provide raw SSH access.
Step 3: Open the Device Manager
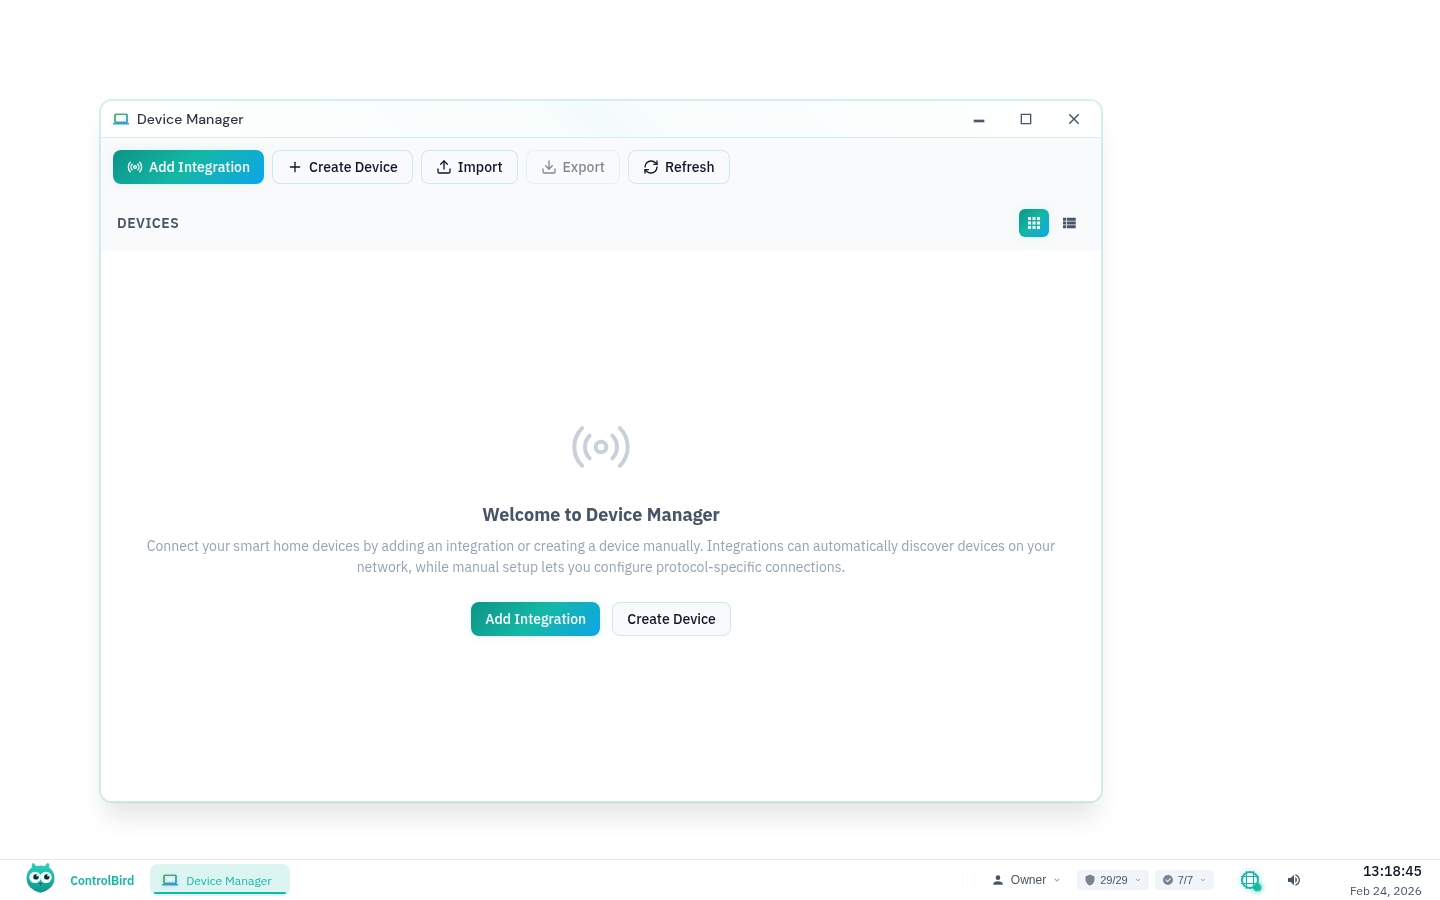
With the tunnel established, open ControlBird and click the logo in the taskbar, then select Device Manager. This app manages all your device connections and data mappings.
Supported Protocols
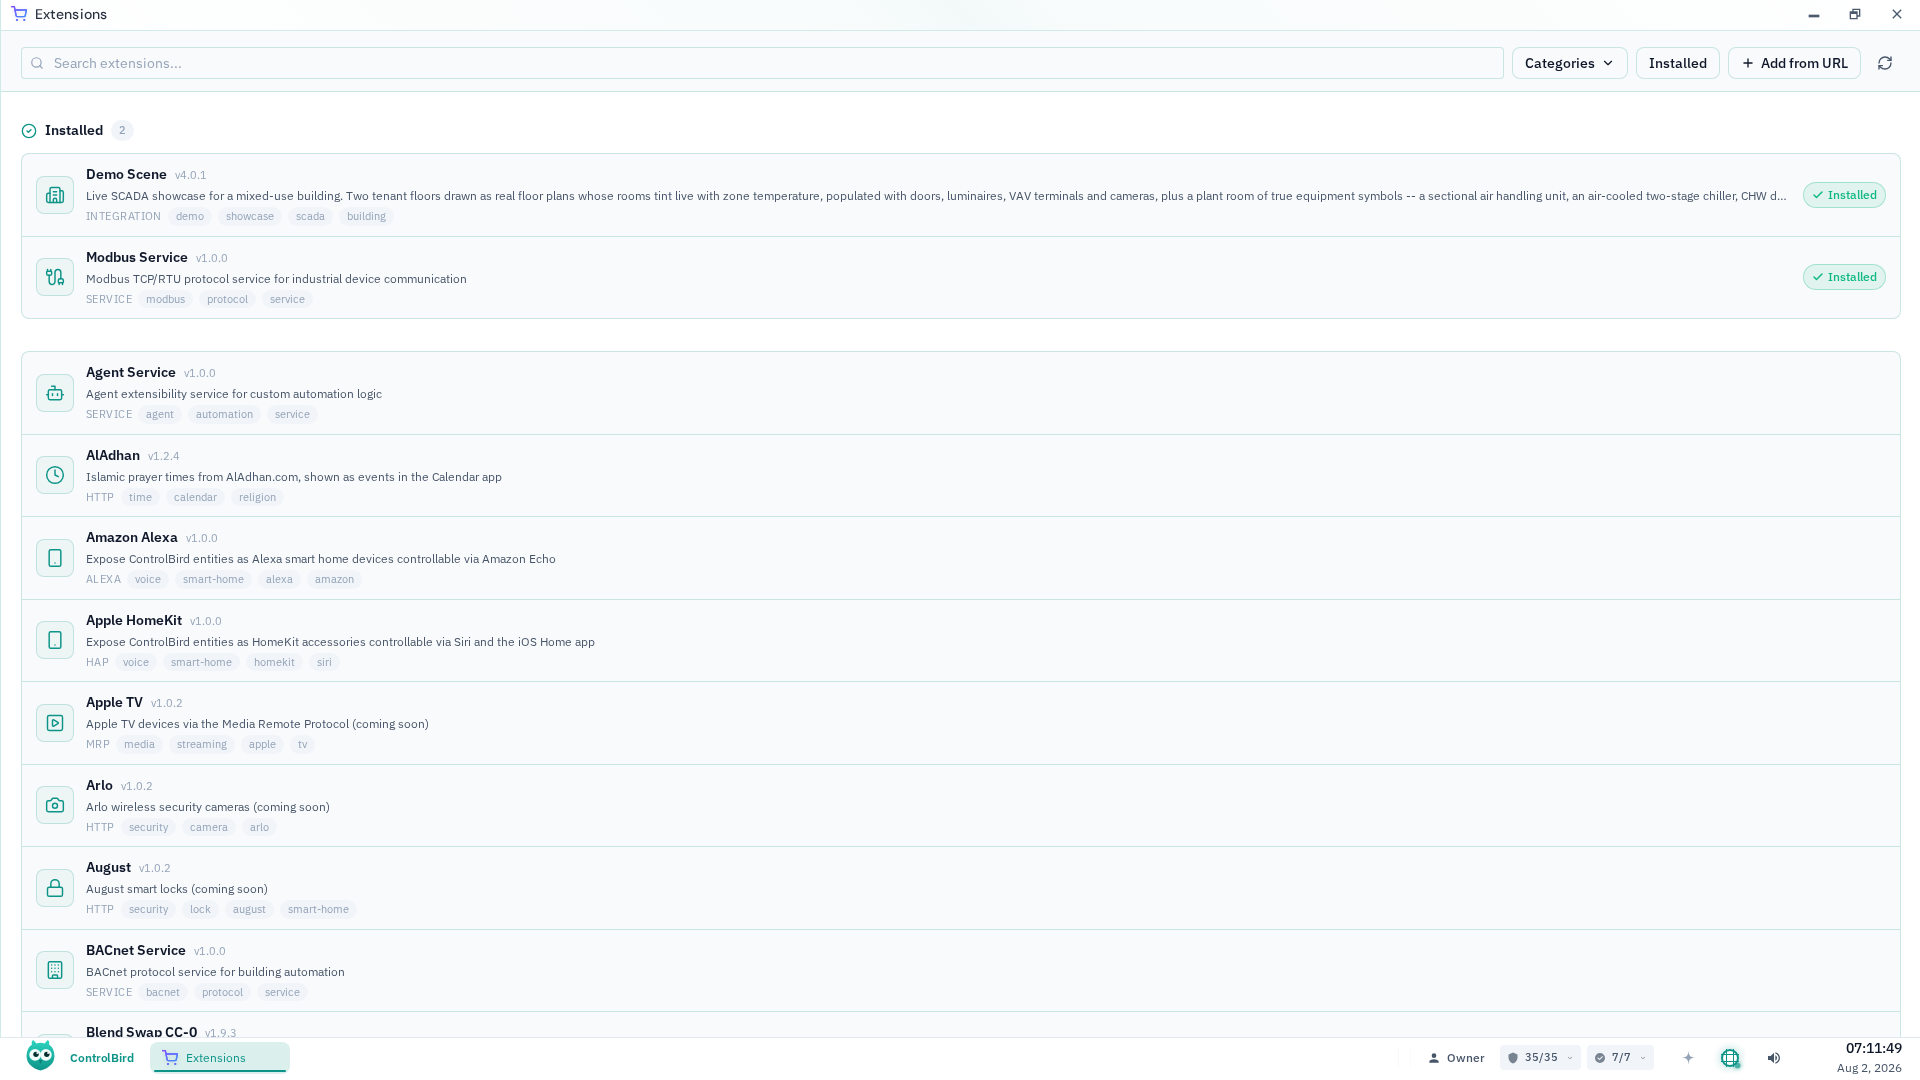
ControlBird supports multiple industrial and IoT protocols:
Step 4: Create a Controller
Click "Add Controller" and select your protocol type. We'll use Modbus TCP as an example.
Controller Configuration
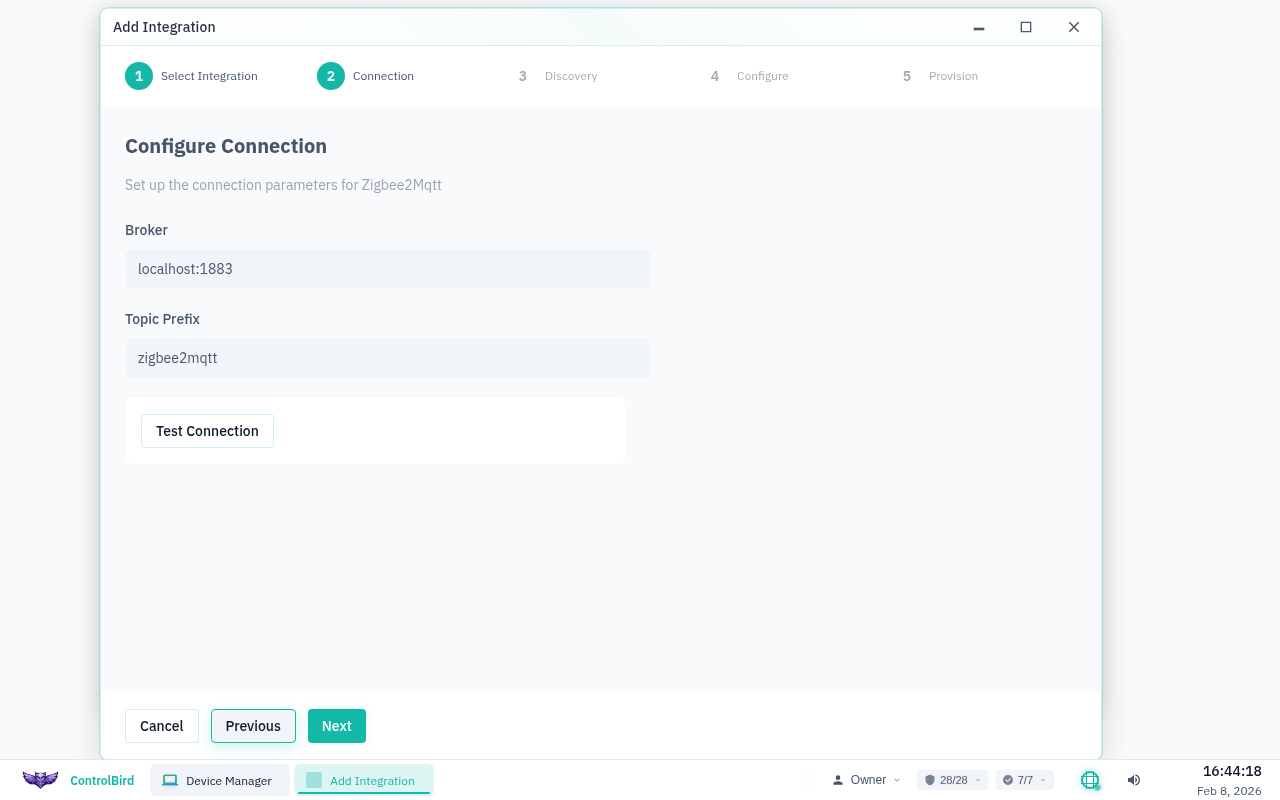
Since your tunnel forwards device ports to localhost on the node, configure the controller to connect locally:
| Field | Description | Example |
|---|---|---|
Name | A friendly name for this connection | Living Room Thermostat |
Host | Always localhost when using the tunnel adapter | localhost |
Port | The port you forwarded through the tunnel adapter | 502 |
Unit ID | Modbus slave address (usually 1) | 1 |
Poll Interval | How often to read data (milliseconds) | 1000 (= 1 second) |
Host Must Be localhost
When using the tunnel adapter, set the host to localhost, not the device's actual IP address. The tunnel makes remote devices appear as local ports on the node.
Connection Status
After saving, the controller will attempt to connect through your tunnel. Watch the status indicator:
Step 5: Create a Mapper
With the controller connected, add a Mapper to read specific data points. Click "Add Mapper" under your controller.
Mapper Configuration
Each mapper reads one piece of data from your device and stores it in ControlBird:
| Field | Description | Example |
|---|---|---|
Name | What this data point represents | Current Temperature |
Register Type | Modbus register type to read | Holding Register (HR) |
Address | Register address from device documentation | 100 |
Data Type | How to interpret the raw data | Float32 |
Target Entity | Where to store this value in the database | /Home/LivingRoom/Temperature |

Where Do I Find Register Addresses?
Register addresses come from your device's documentation (usually called a "Modbus register map" or "point list"). Search for "[your device name] modbus registers" or check the manufacturer's website. Common examples: temperature at register 100, humidity at 102, setpoint at 200.
Common Modbus Data Types
Step 6: Verify the Data
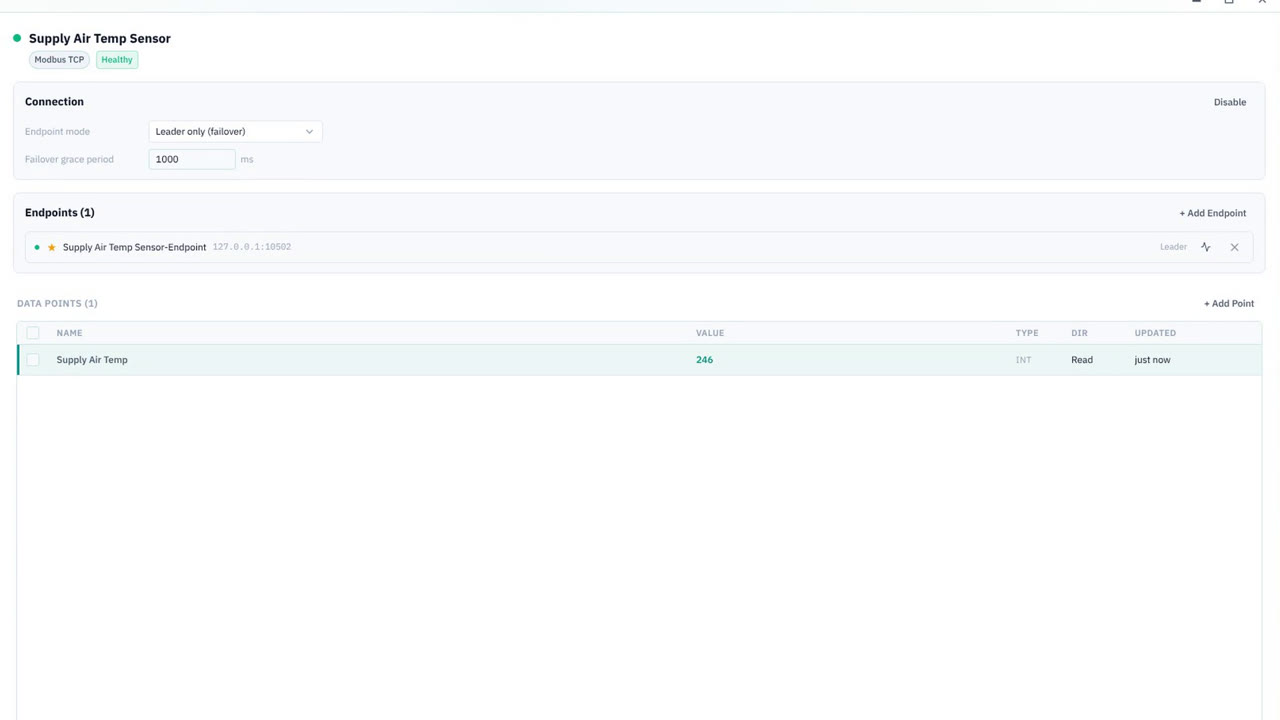
Once your mapper is active, you'll see live values in the Device Manager:

Confirm in Database Browser
Open the Database Browser and navigate to your target entity. You should see the field value updating at your configured poll interval:

Testing Your Setup
Change something on your physical device (adjust a thermostat, trigger a sensor) and watch the value update in ControlBird. This confirms the entire data pipeline, from device through tunnel to cloud, is working correctly.
Troubleshooting
Tunnel adapter won't connect
If your tunnel fails to establish:
- Check the tunnel host: make sure you're using the exact hostname from your environment page
- Verify your token: regenerate the token if needed and try again
- Check network restrictions: some corporate networks block outbound connections; try from a different network
- Check Docker logs: run
docker logs tunnelto see connection details
Controller shows "Error" after tunnel connects
If the tunnel is up but the controller can't connect:
- Verify port forwarding: make sure
TUNNEL_REMOTE_PORTmatches your controller's port setting - Check local device: confirm the device is reachable from your tunnel machine (try
nc -zv 192.168.1.100 502) - Look for port conflicts: the forwarded port might already be in use on the node
Tunnel disconnects frequently
For more reliable tunnels:
- Use the Docker image with
--restart alwaysfor automatic reconnection (recommended) - Use Docker's
--restart alwaysoption so the adapter restarts after an unrecoverable exit
I'm not seeing any data updates
If your device is connected but values aren't updating:
- Check that your mapper configuration points to valid registers/addresses
- Verify the data type matches what your device sends
- Try increasing the poll interval if your device is slow to respond
- Check tunnel latency: high latency may cause timeouts
Can I run the tunnel from a Raspberry Pi?
Yes! A Raspberry Pi makes an excellent tunnel gateway. Install Docker on your Pi, then run a single docker run command to set up a persistent, auto-reconnecting tunnel to all your devices. Any Pi model with Docker and network access will work.
How do I connect MQTT devices?
For MQTT, forward port 1883 (or your broker's port) through the tunnel, then configure an MQTT controller pointing to localhost:1883. The mapper uses topic subscriptions instead of register addresses.
Architecture Summary
Here's how data flows from your local device to ControlBird: